So, I’ve come across multiple versions of weaving on Pinterest and decided to try out making a wall hanging.
For this project I used:
1. Scissors.
2. Assorted Yarn and string.
3. Cardboard in the size of your desired wall hanging.
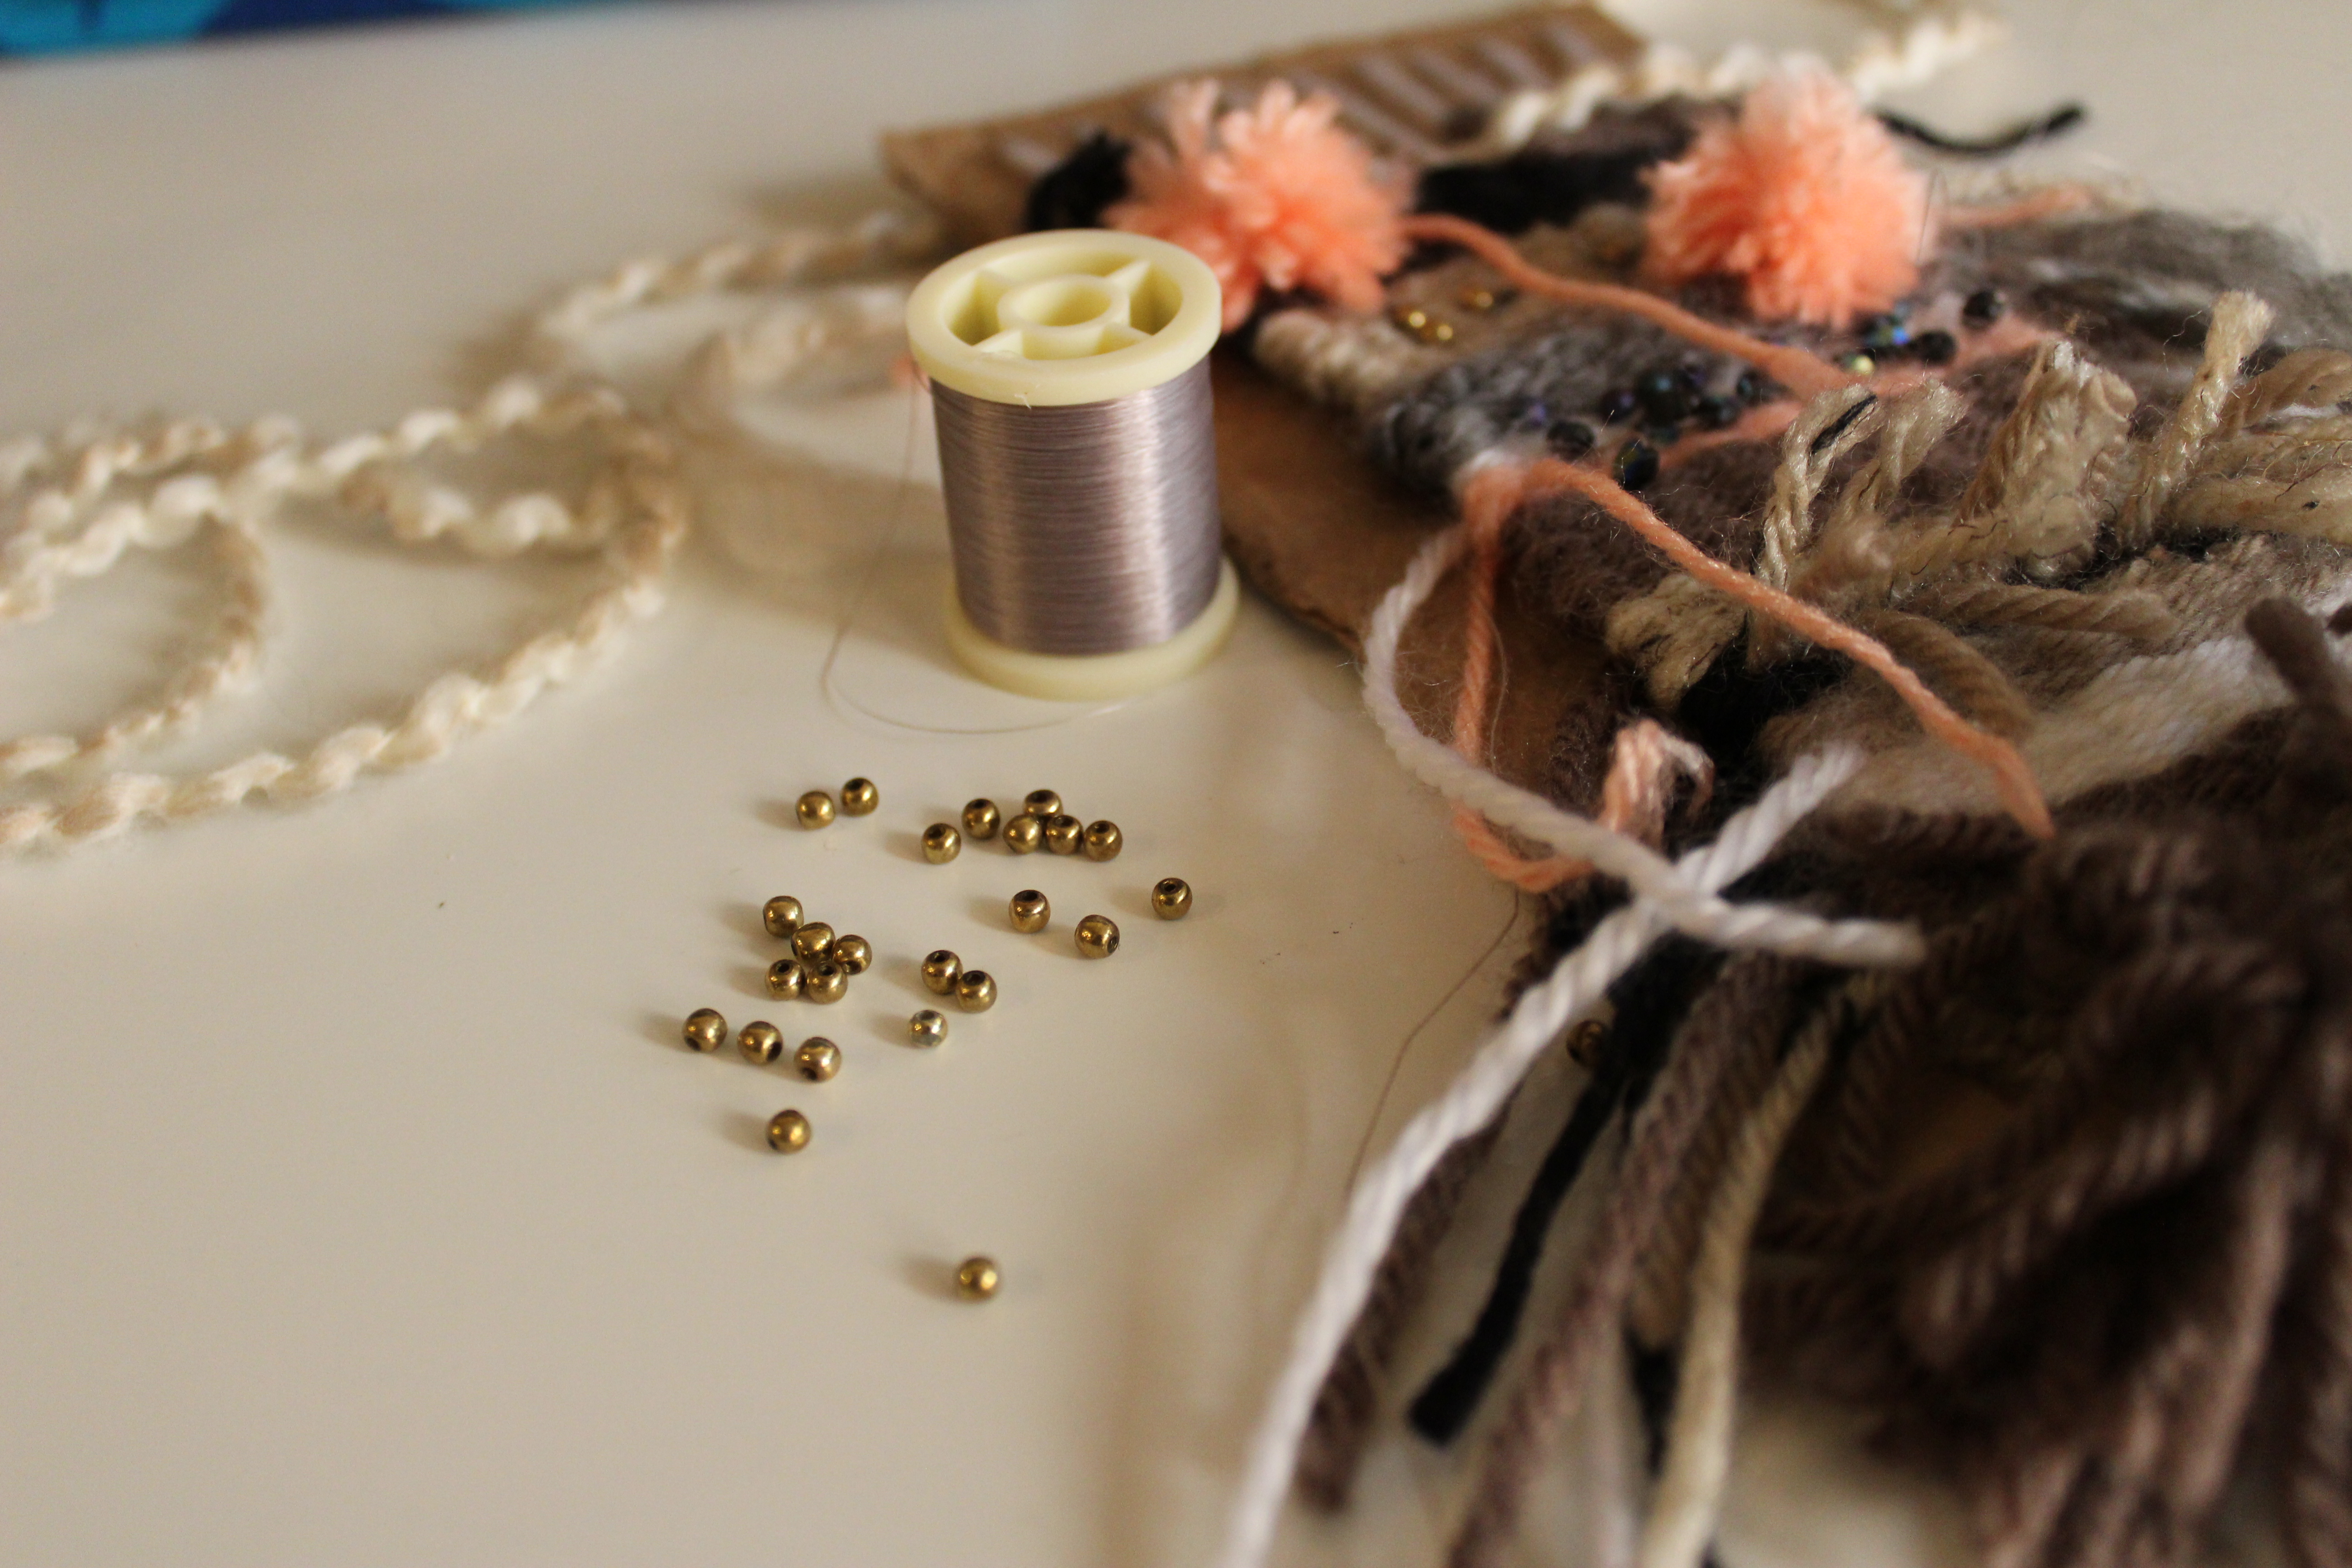
4. Beads (optional).
5. A stick to hang it from.
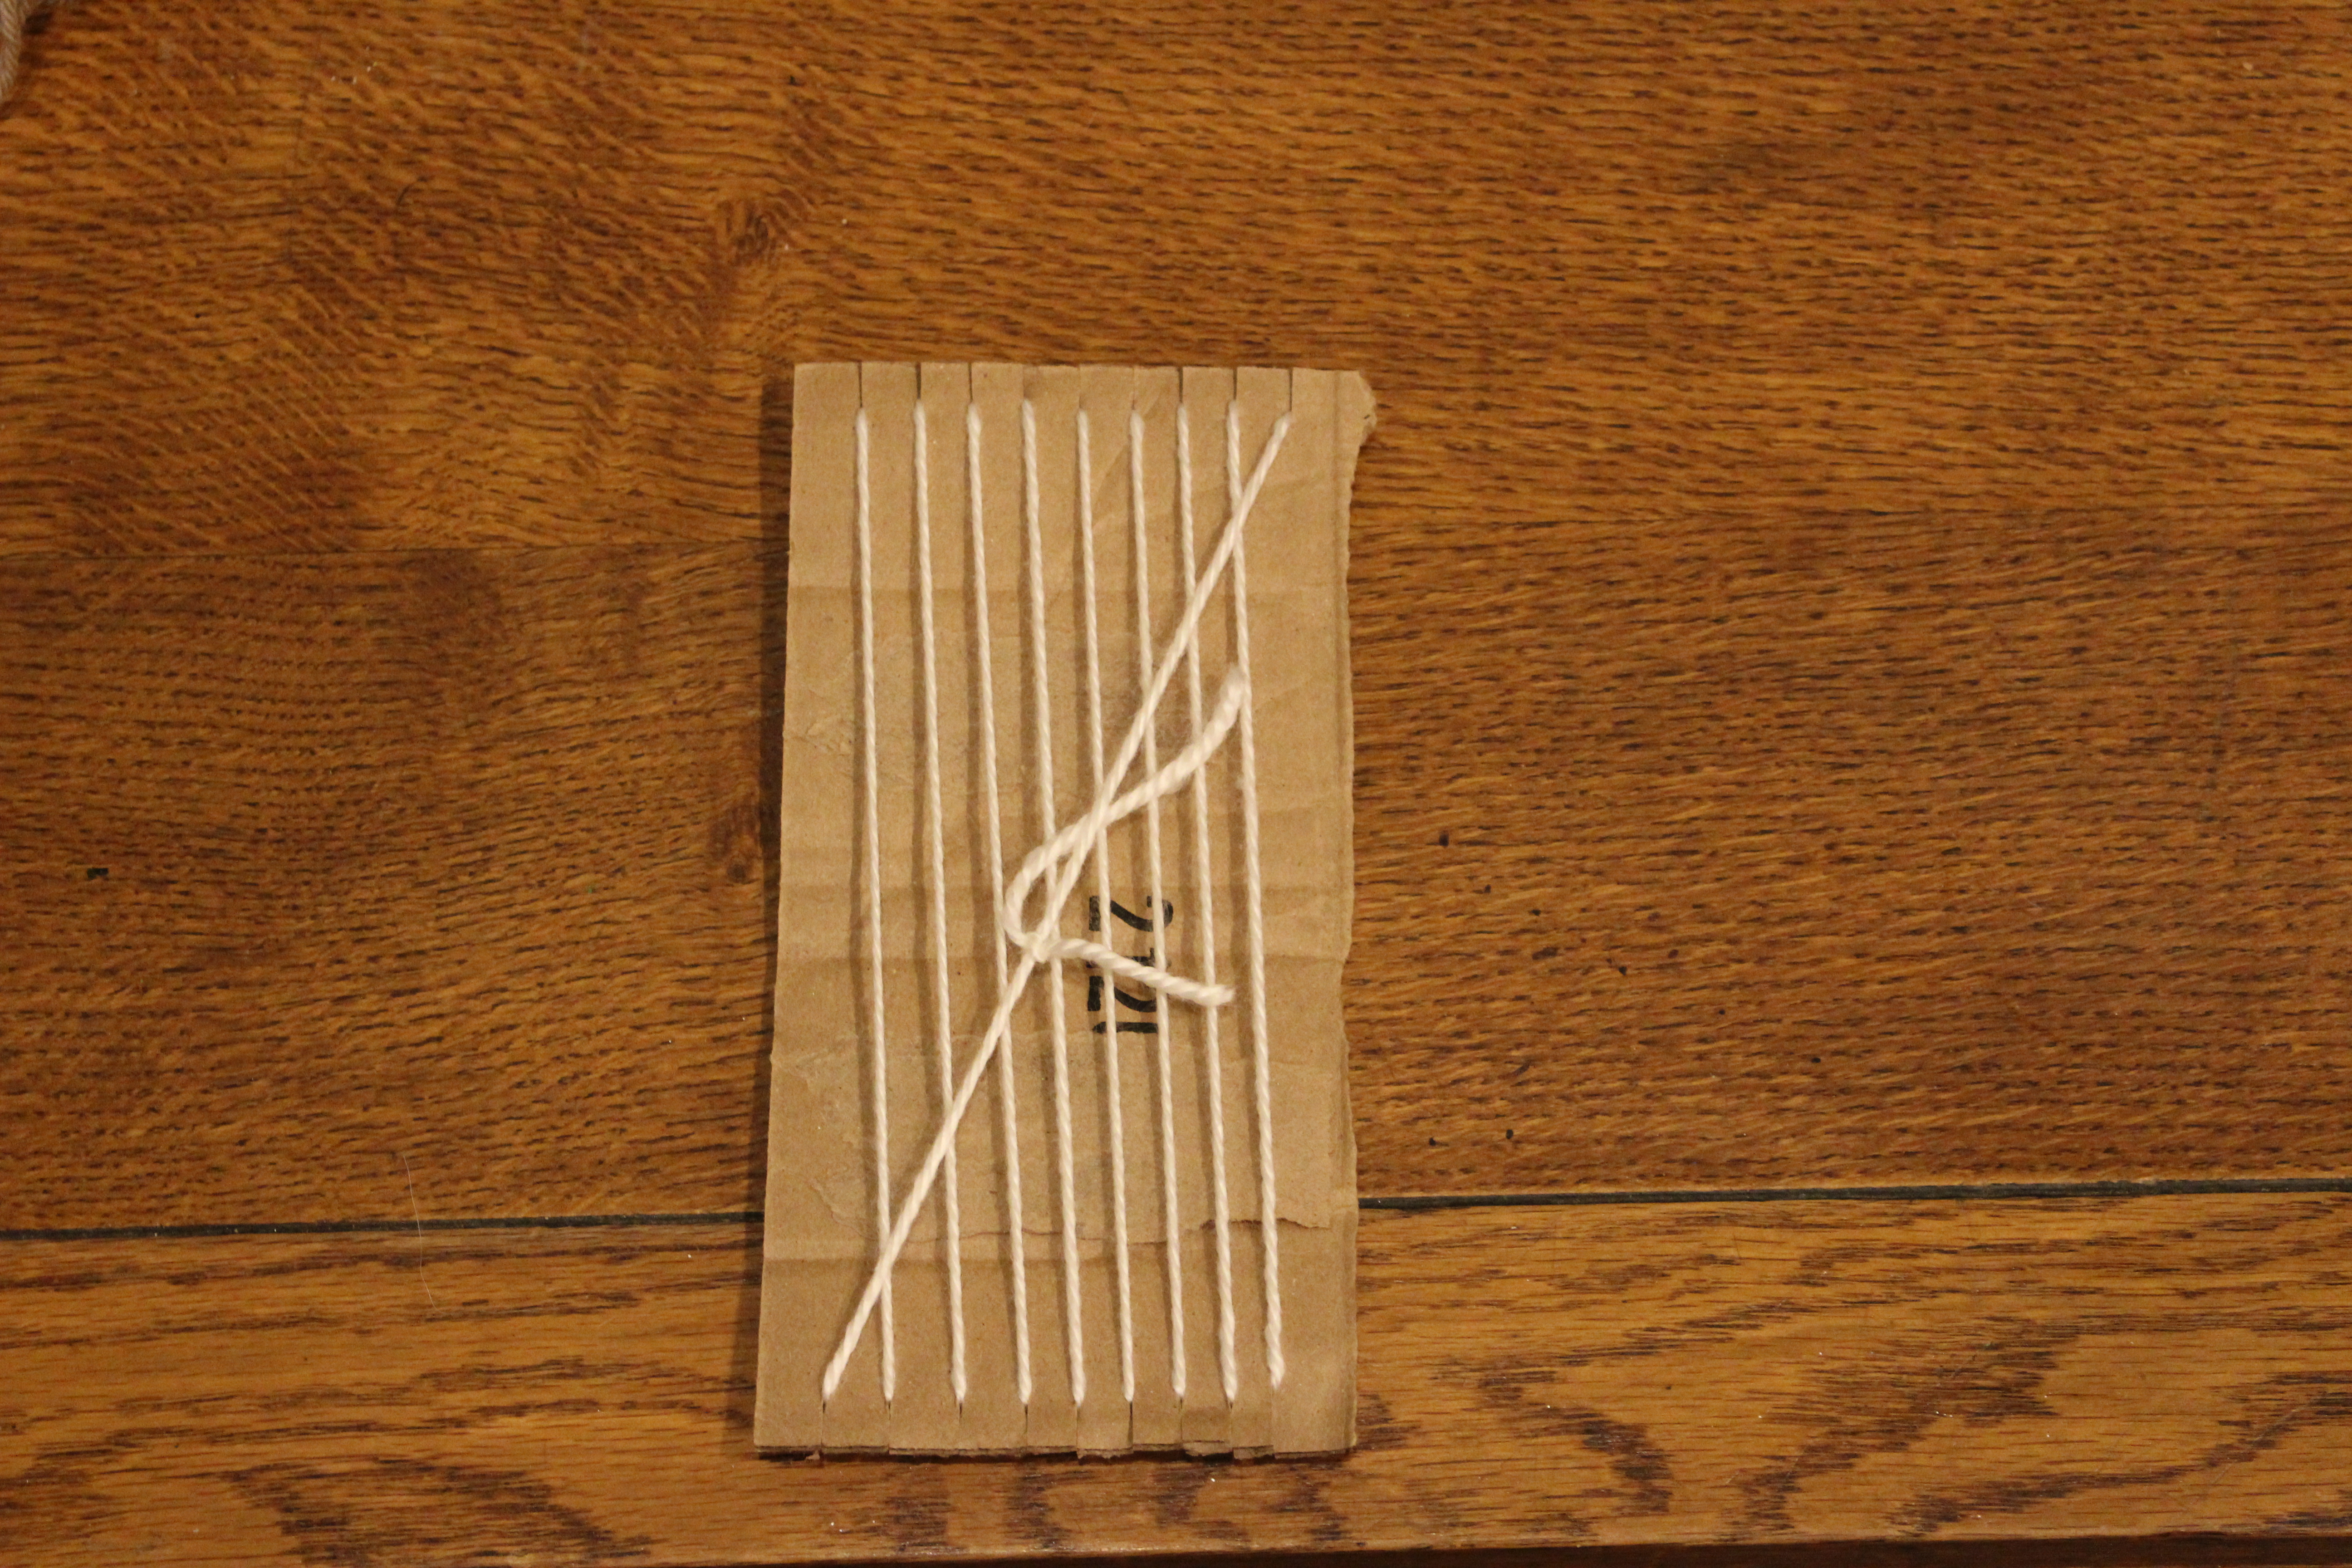
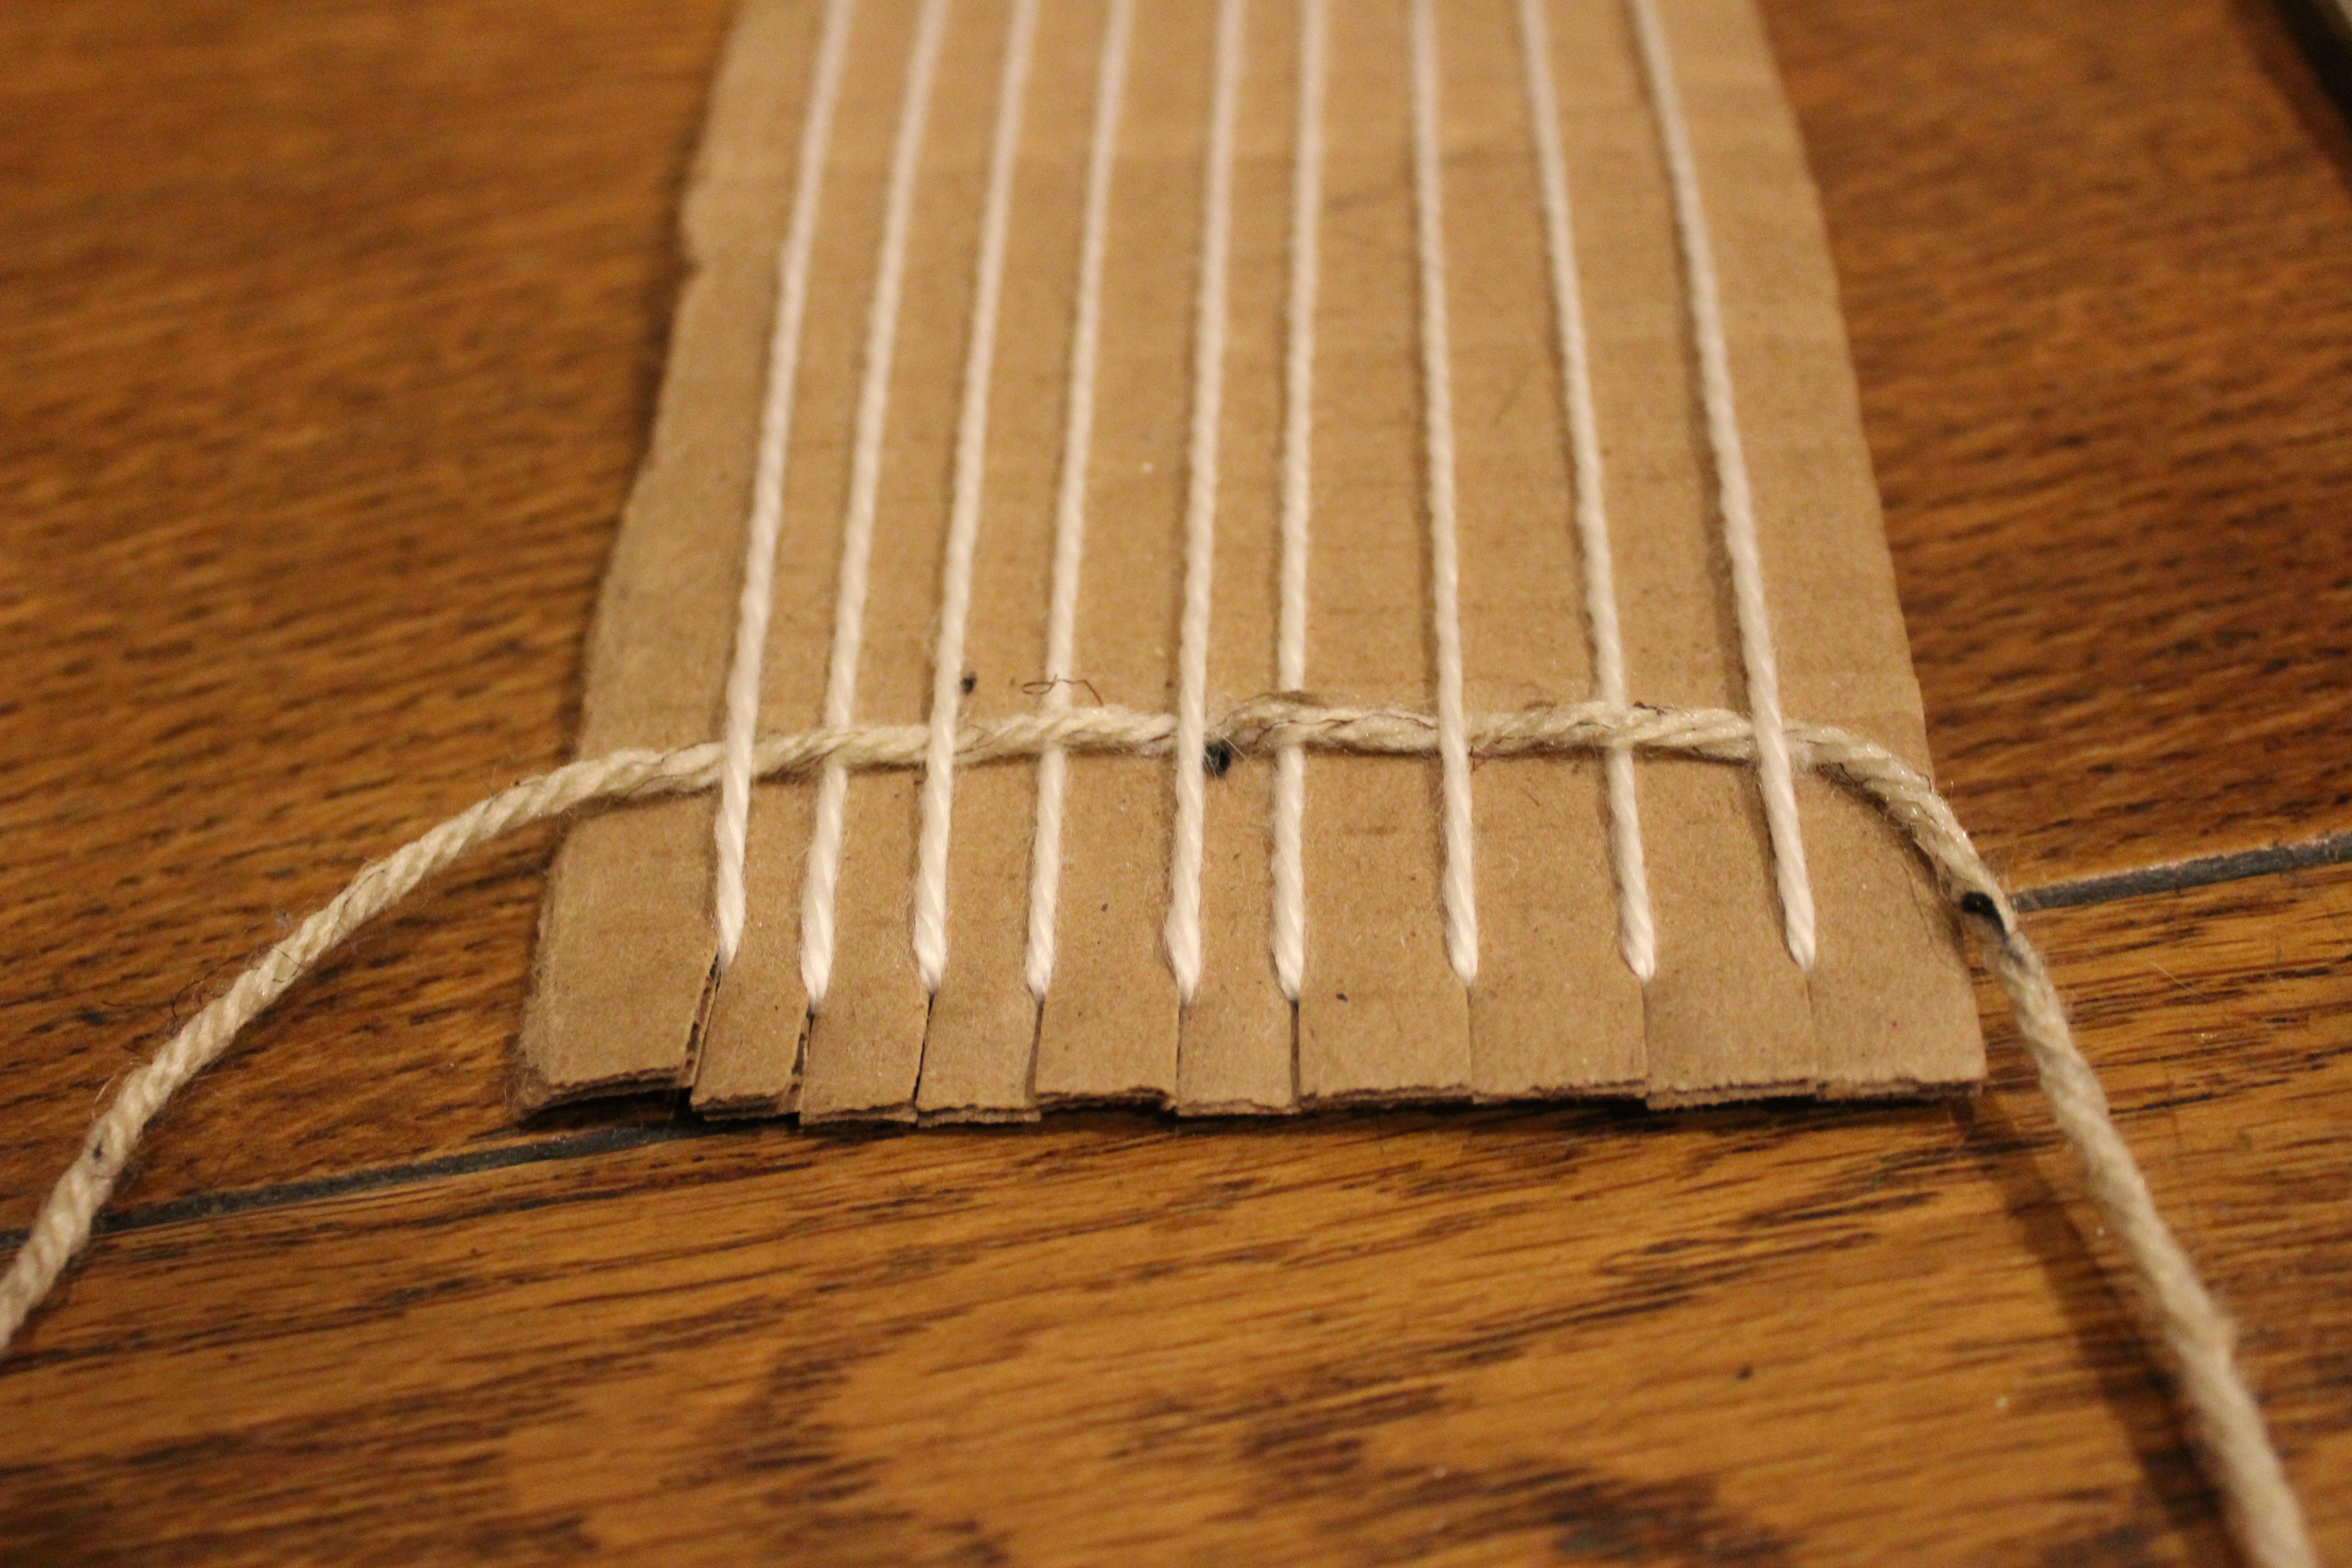
To start out, I made small cuts on either side of my cardboard. Then, I wrapped yarn all the way around the cardboard, placing it in the divots, and tightly tied the end pieces together on the back of the cardboard.
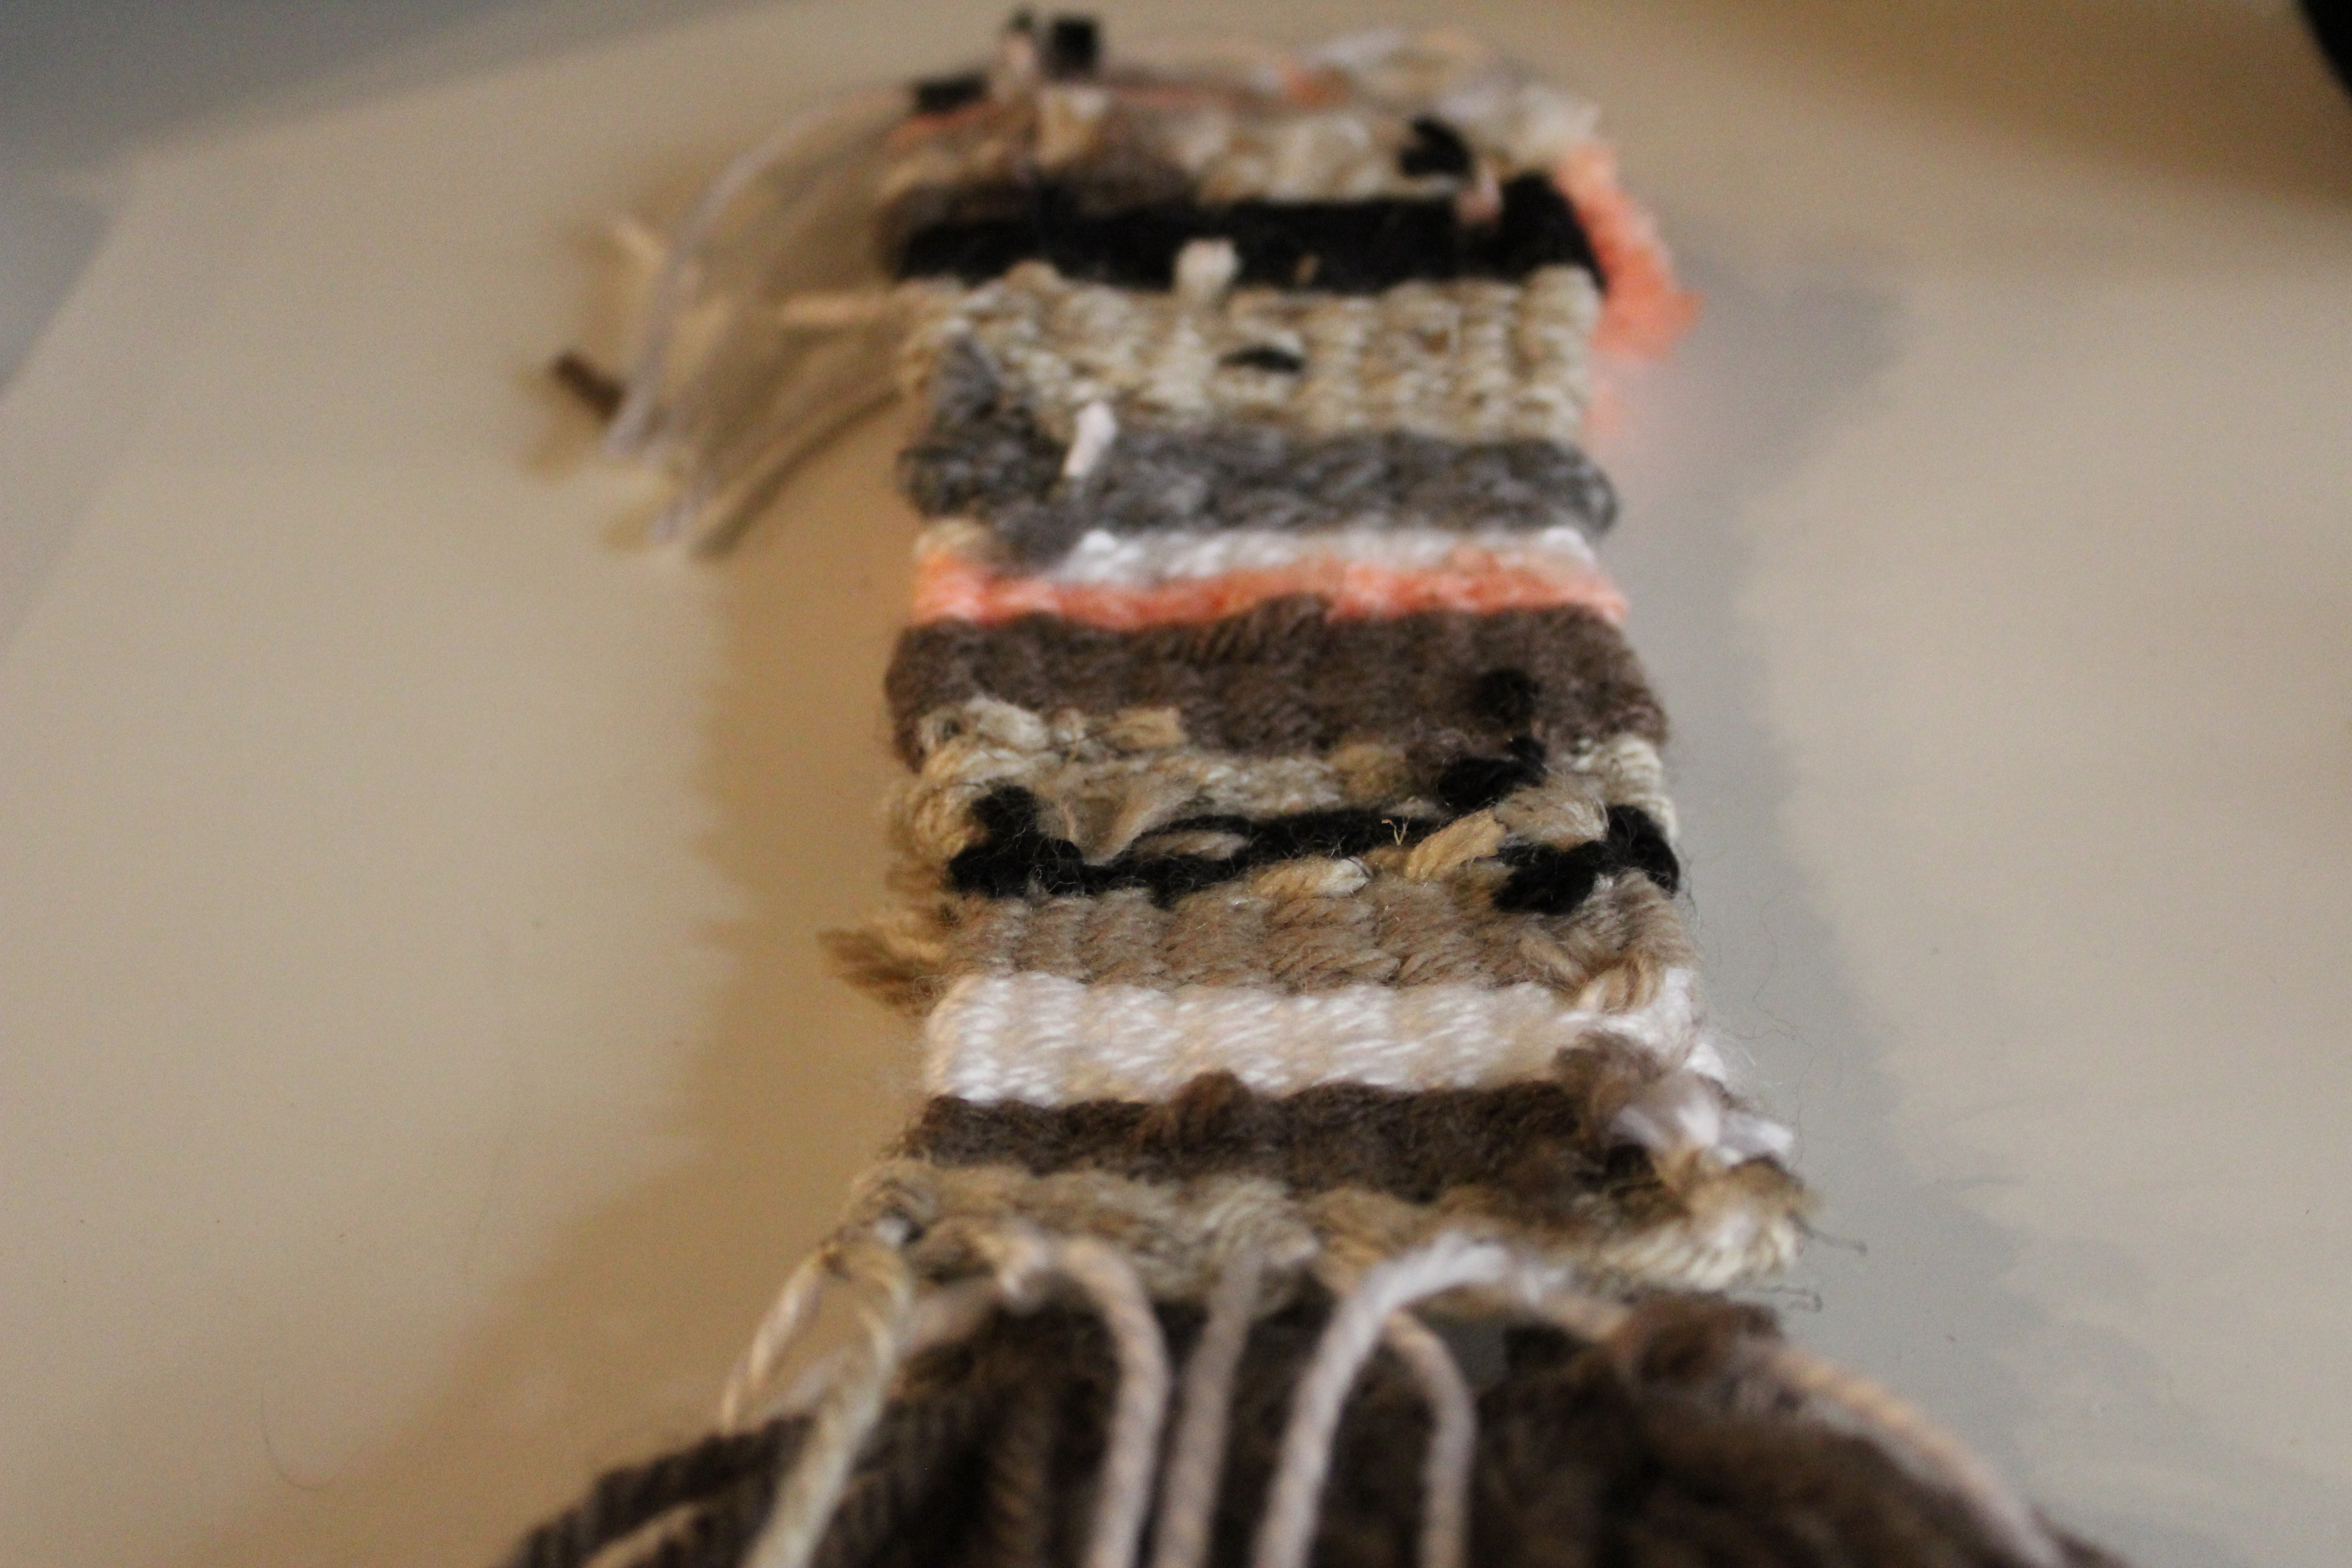
Next, I started weaving by going over and under each of lines of yarn wrapped around the cardboard and then turned my work, wrapping it around the last line of yarn. You continue doing that and can switch colors at any time. Leave all the end of the yarn sticking out of the weaving, to be tied and sewn in when you are done.
In my weaving, I wanted assorted textures and decided to tie on tassels and pom poms throughout the work, I also added beads by stringing the bead on a piece of thread and weaving the thread along with the yarn I was currently weaving in. You often have to push the beads in front of the yarn as you weave the next row because they have a tendency to go behind the yarn, where you can’t see them
Continue weaving all the way to the top of the cardboard, incorporating any textures you want in your wall hanging. When you are finished, cut the yarn in the back near the middle.

Then, tie all the pieces of yarn on either end of the cardboard together and weave in the yarn and tie it or cut it in the back of the hanging so that it doesn’t stick out.
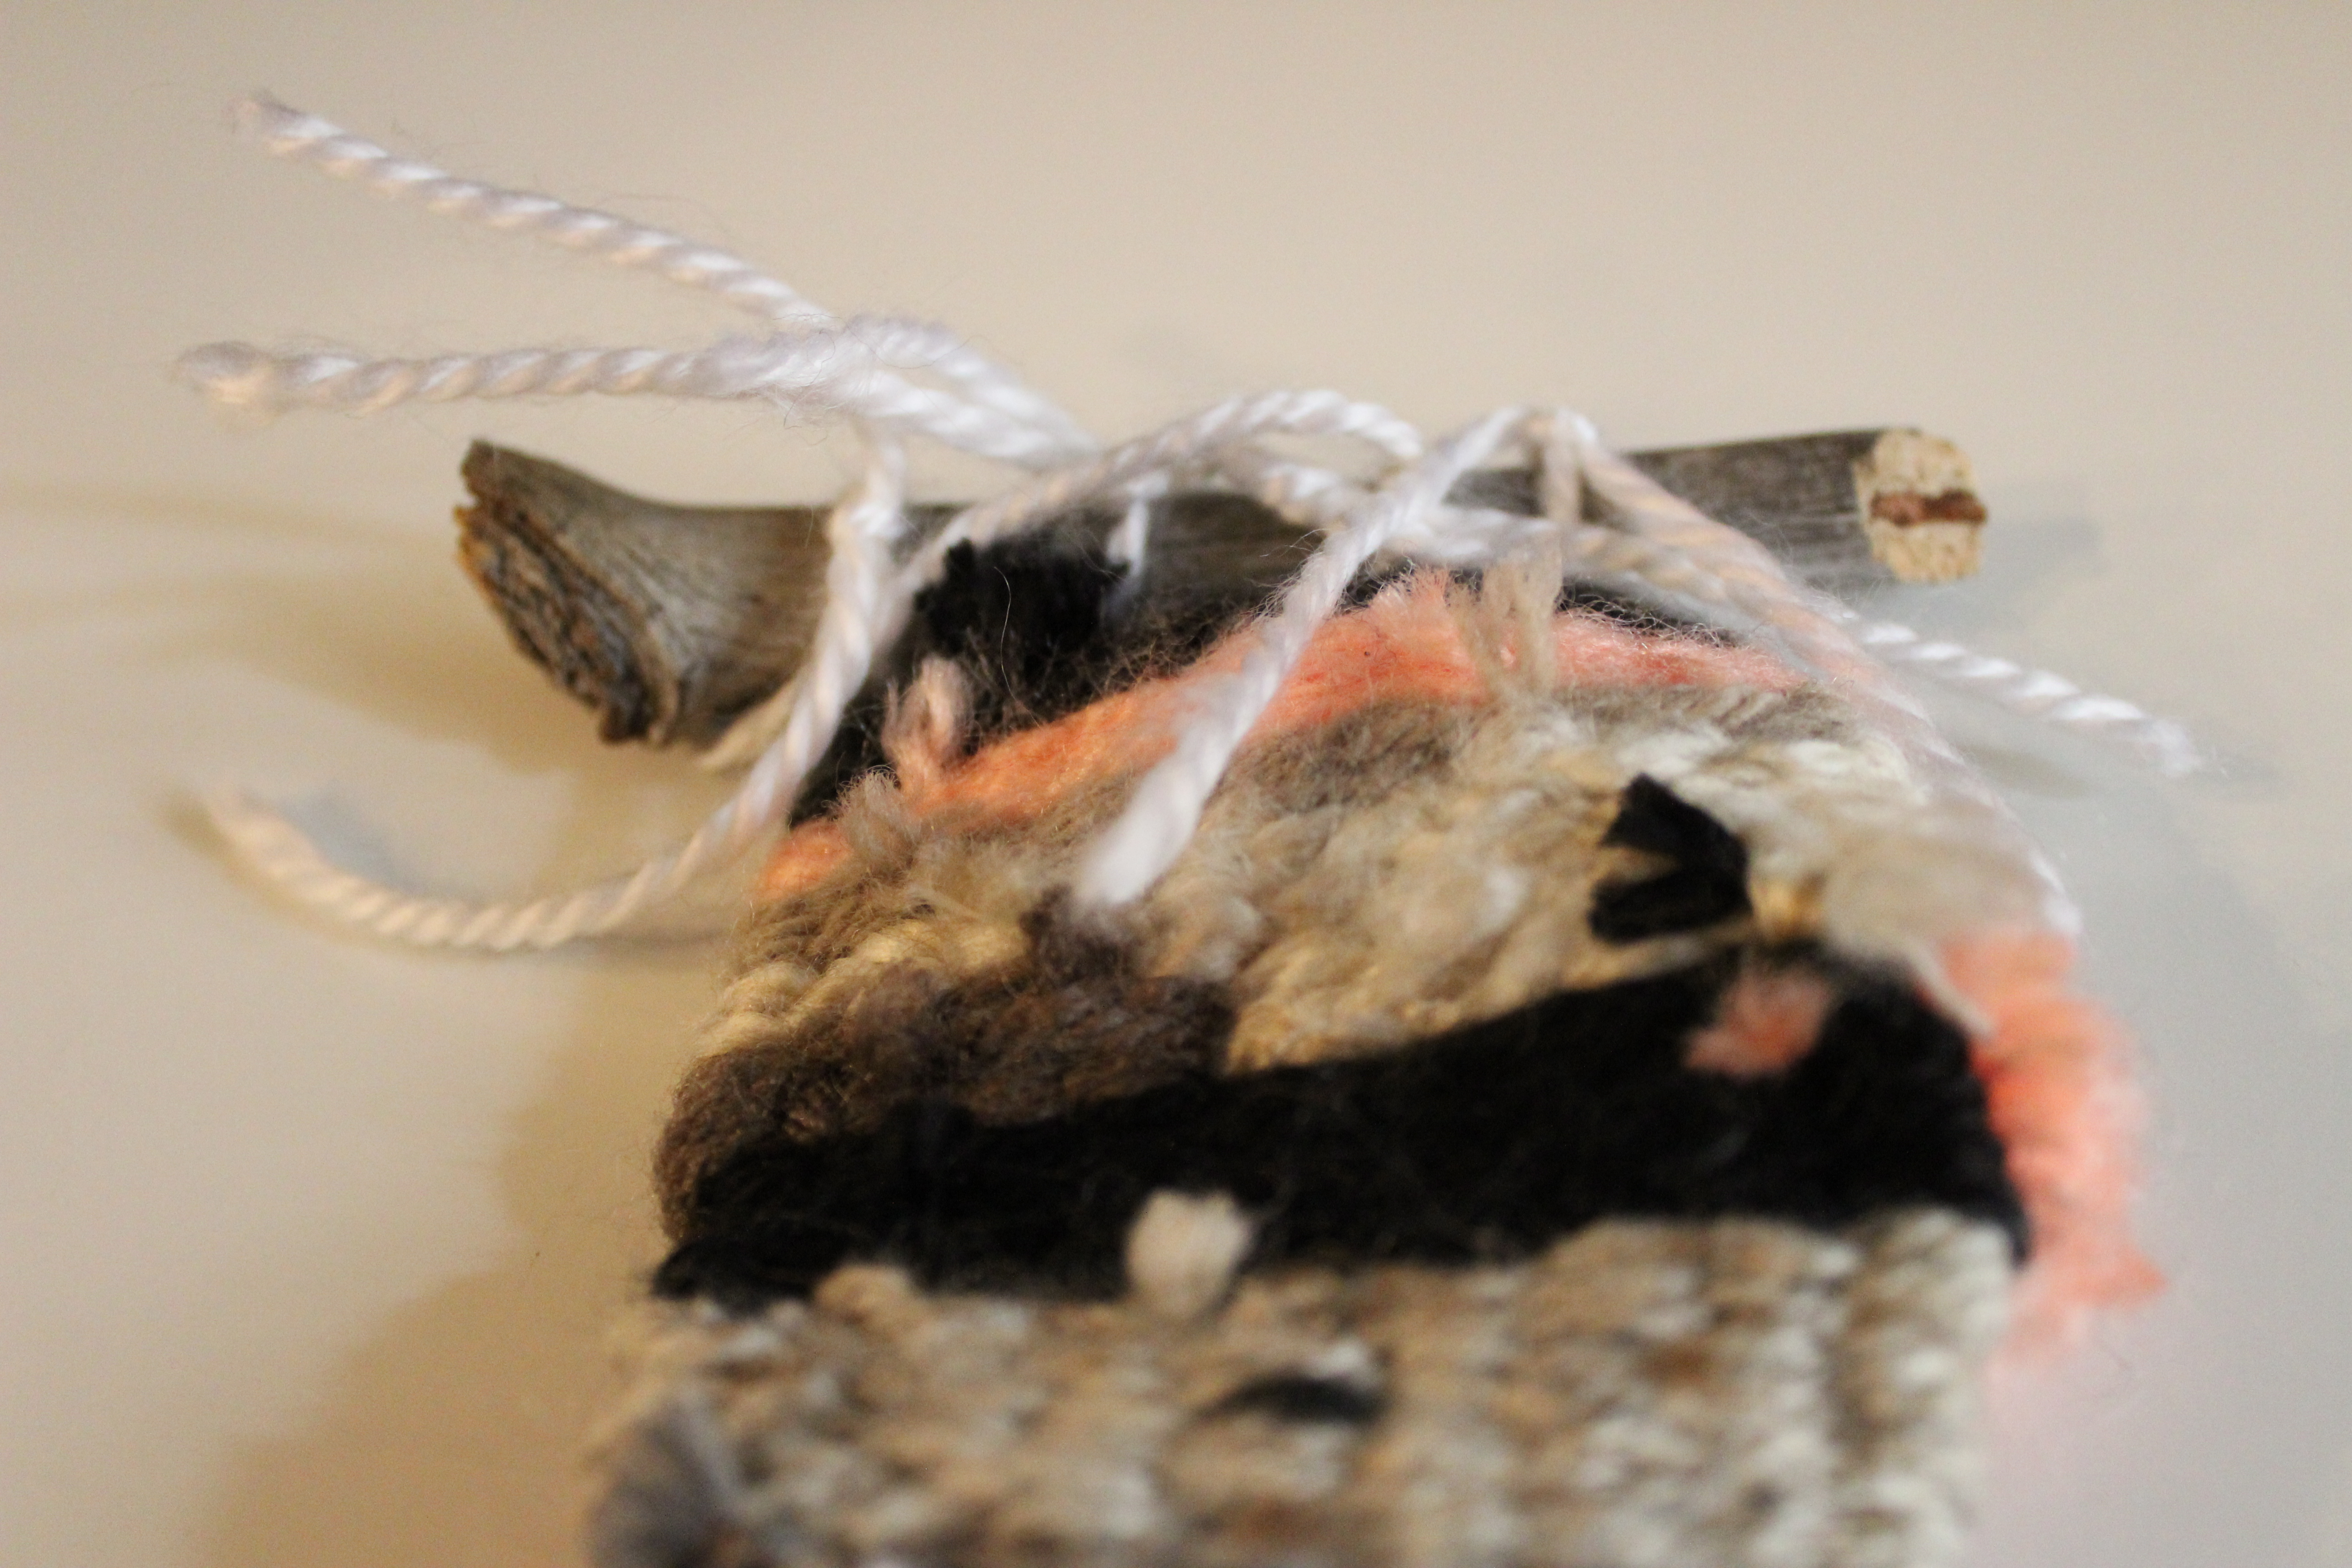
Lastly, tie the yarn on the top around a stick to be hung from. Tuck in or cut all of the pieces of yarn that continue you stick out in the front and you’re done. You can then pin up your hanging!

I hope this gives you some inspiration!
– Hannah


Leave a comment